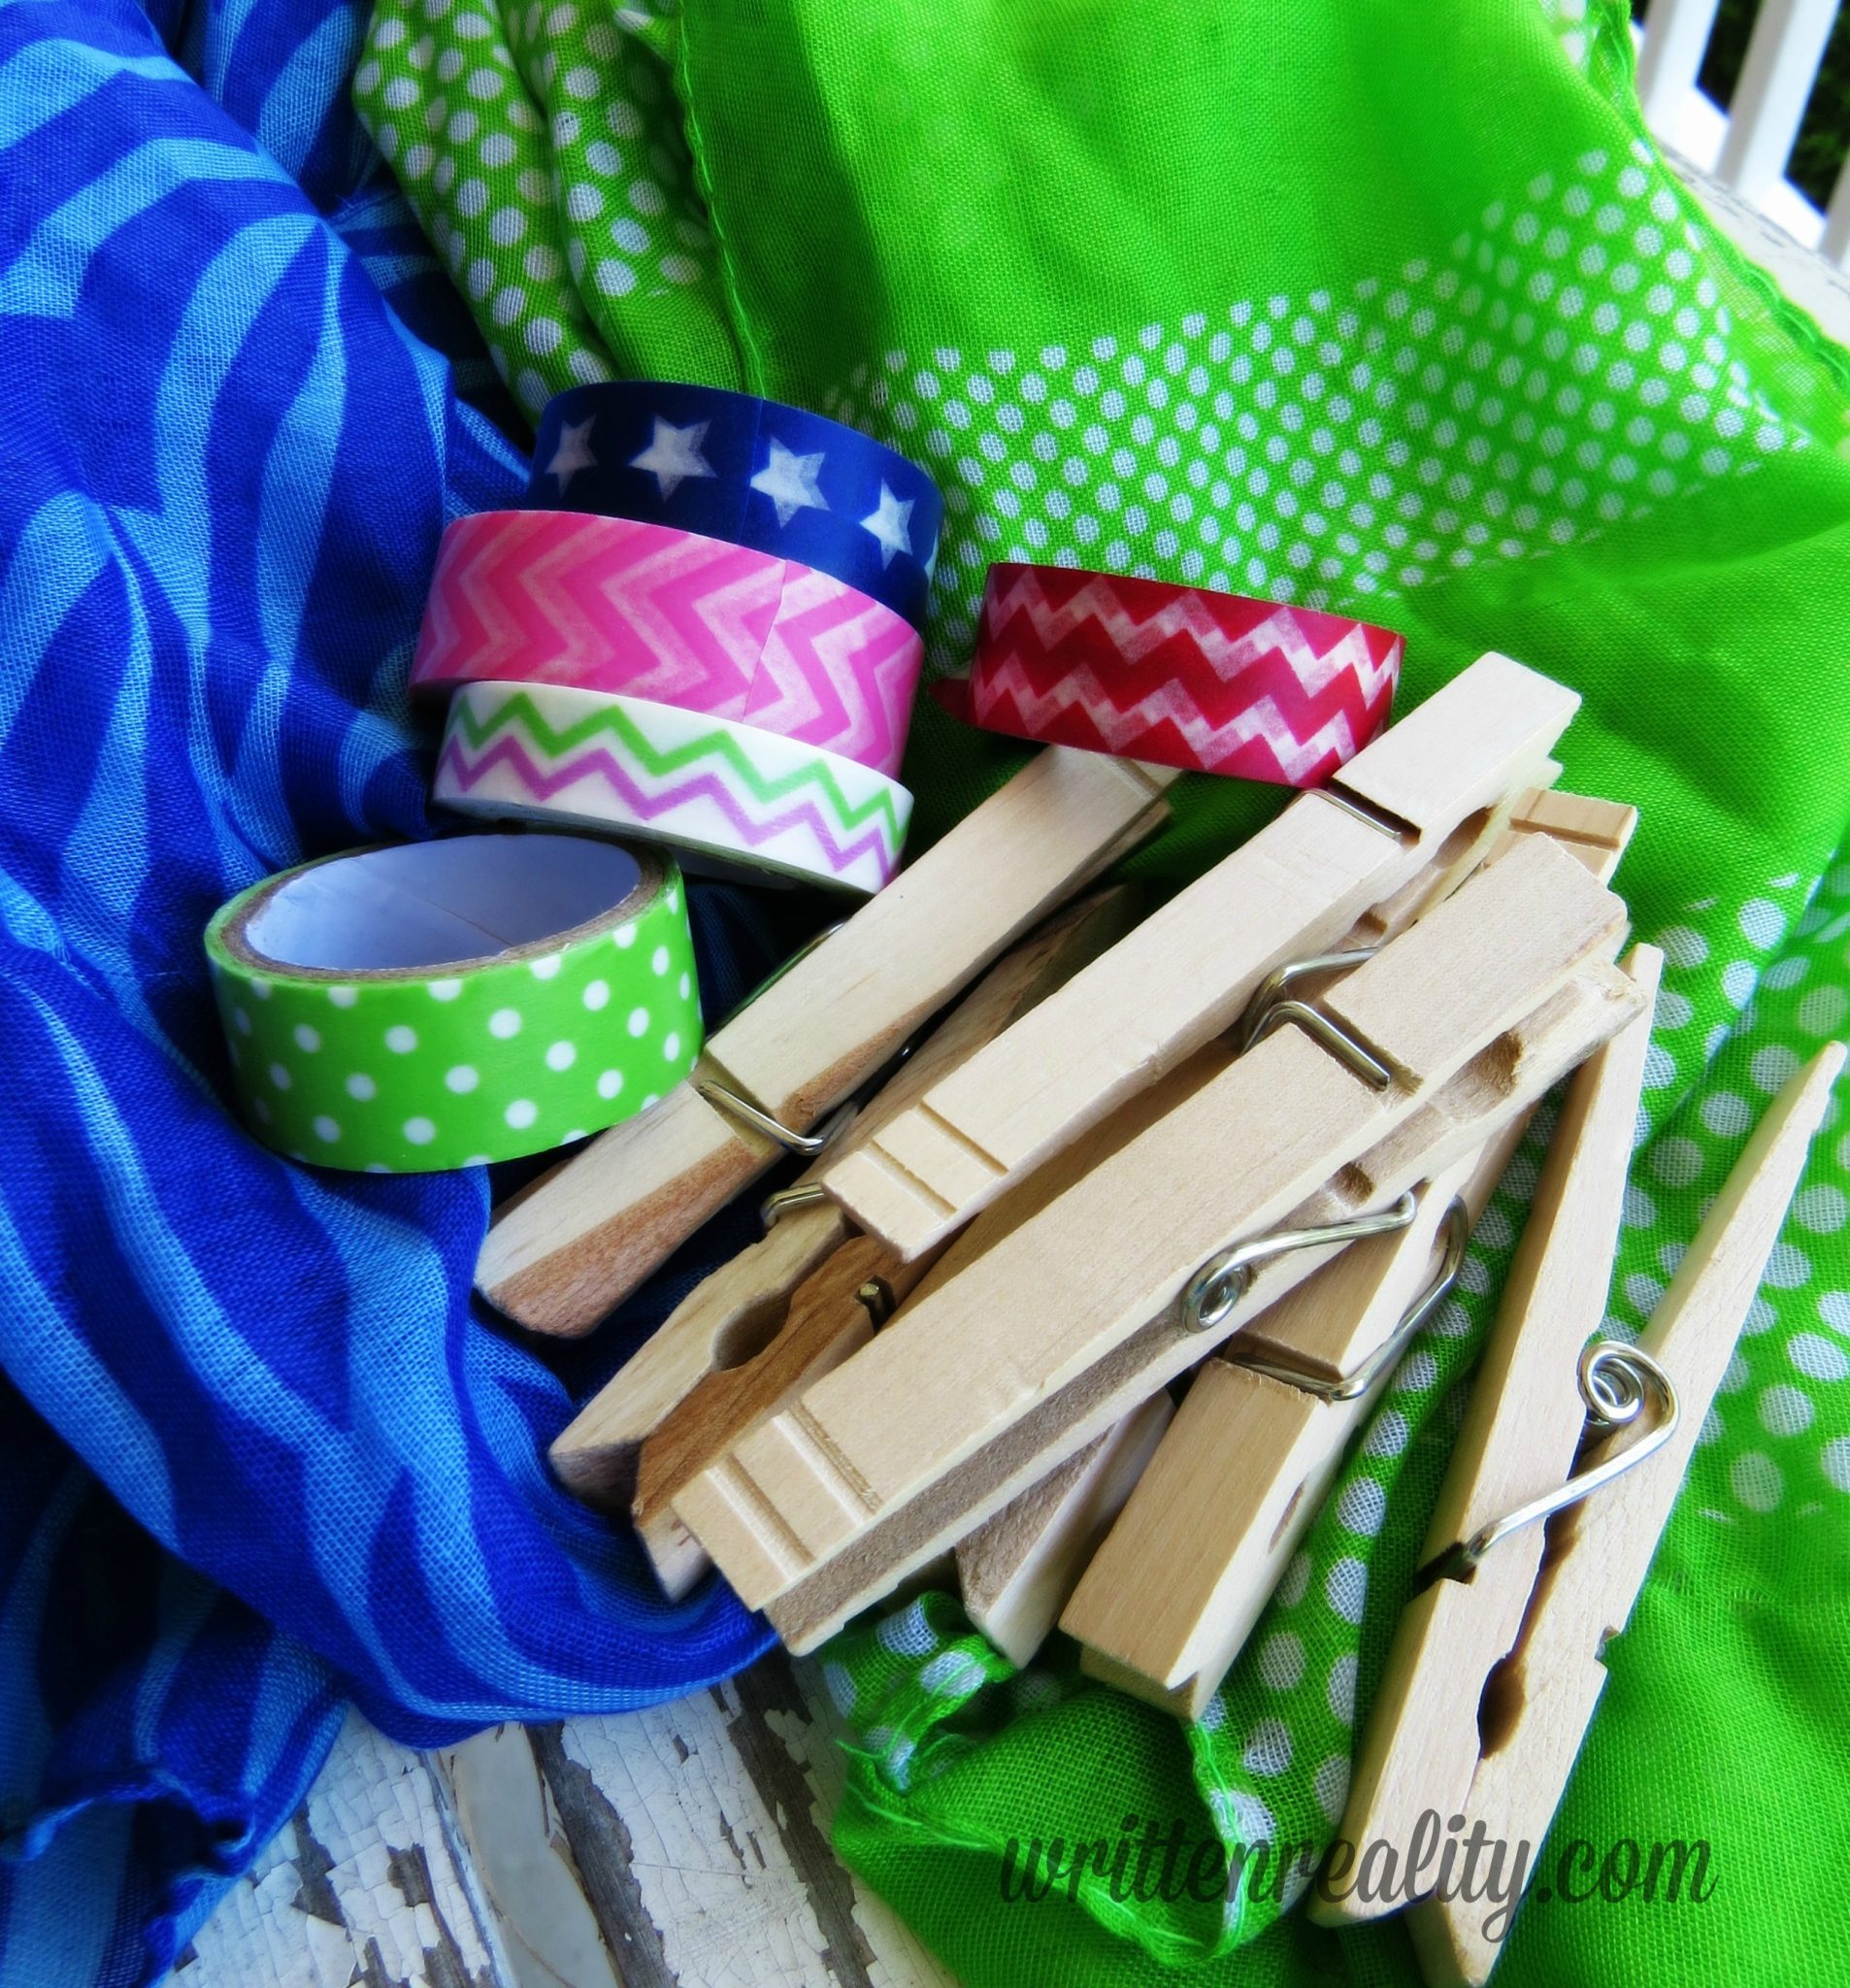
This reversible wreath is all about using what you already have and adding your own creativity. Before heading to the store and piling your cart with things you don’t need or can’t afford (this girl’s on a budget), rummage through your craft supplies and think outside the box for a new way to use them.
DIY Wreath For All Occasions STEP ONE
To create your own DIY Wreath For All Occasions, first decide how wide your wreath should be. I just grabbed a pot from the kitchen (I’m not that choosy), held the pot up to where I planned to hang my project, and decided it was the best diameter.
The diameter of my circle happens to be 8 1/2 inches. But again, that’s totally up to you.
#1 Trace Your Wreath Ring Using Cardboard
Using the pot, I traced a circle onto a piece of cardboard and cut it out.
I then clipped clothespins completely around it and traced another circle on the inside to create the ring.
This tracing was bumpy, of course. But it doesn’t matter. The great thing about this project is that there’s no need for perfection. ˜phew˜
All of these imperfections will be covered underneath your beautiful clothespins!
Remove the clothespins you used for tracing, and cut the inside out of the cardboard circle to create a nice ring for your wreath.
Wrap the Cardboard
I was out of white felt and didn’t want to use my cloth scraps for this step, so I used white poster board. I simply traced more circles, pasted one on each side of the cardboard ring, and trimmed to make sure it looked even enough.
Now that you have the base of the wreath, you’re ready to get creative–so grab those clothespins and let’s move on to STEP TWO


I never would have thought to use clothes pens to make a wreath. I LOVE this!
thanks, Crystal– I like that I can switch it out–super easy and versatile
This is adorable!!! I would have never thought to put washi tape on clothespins for a wreath. So creative!!
I love this. I’ve seen it before but didn’t ever think to make it reversible! Visiting from Put a Bird on It.
thanks, Becky– yes, I’m all about stretching my seasonal decor to the max!