


Now that you have ONE SIDE OF YOUR WREATH ready, let’s move on to the other side!
For this project, I was looking for something I could use for Memorial Day that would also be fun for early summer and all the way to the 4th of July. That’s why I used Easter/Spring colors for one side and vibrant blue and red for the other.
DIY Wreath For All Occasions STEP THREE
#3 Flip Over the Wreath and Do it AGAIN!
Using the same process from STEP TWO, remove the clothespins, one by one, to create another pattern on the other side.
Again, this part is time-consuming, but doesn’t need to be perfect and can be done while watching TV or chatting with spouse or friend.
Just make sure to keep up with your pattern at you go. That way, it corresponds with the pattern you’ve already created on the other side.
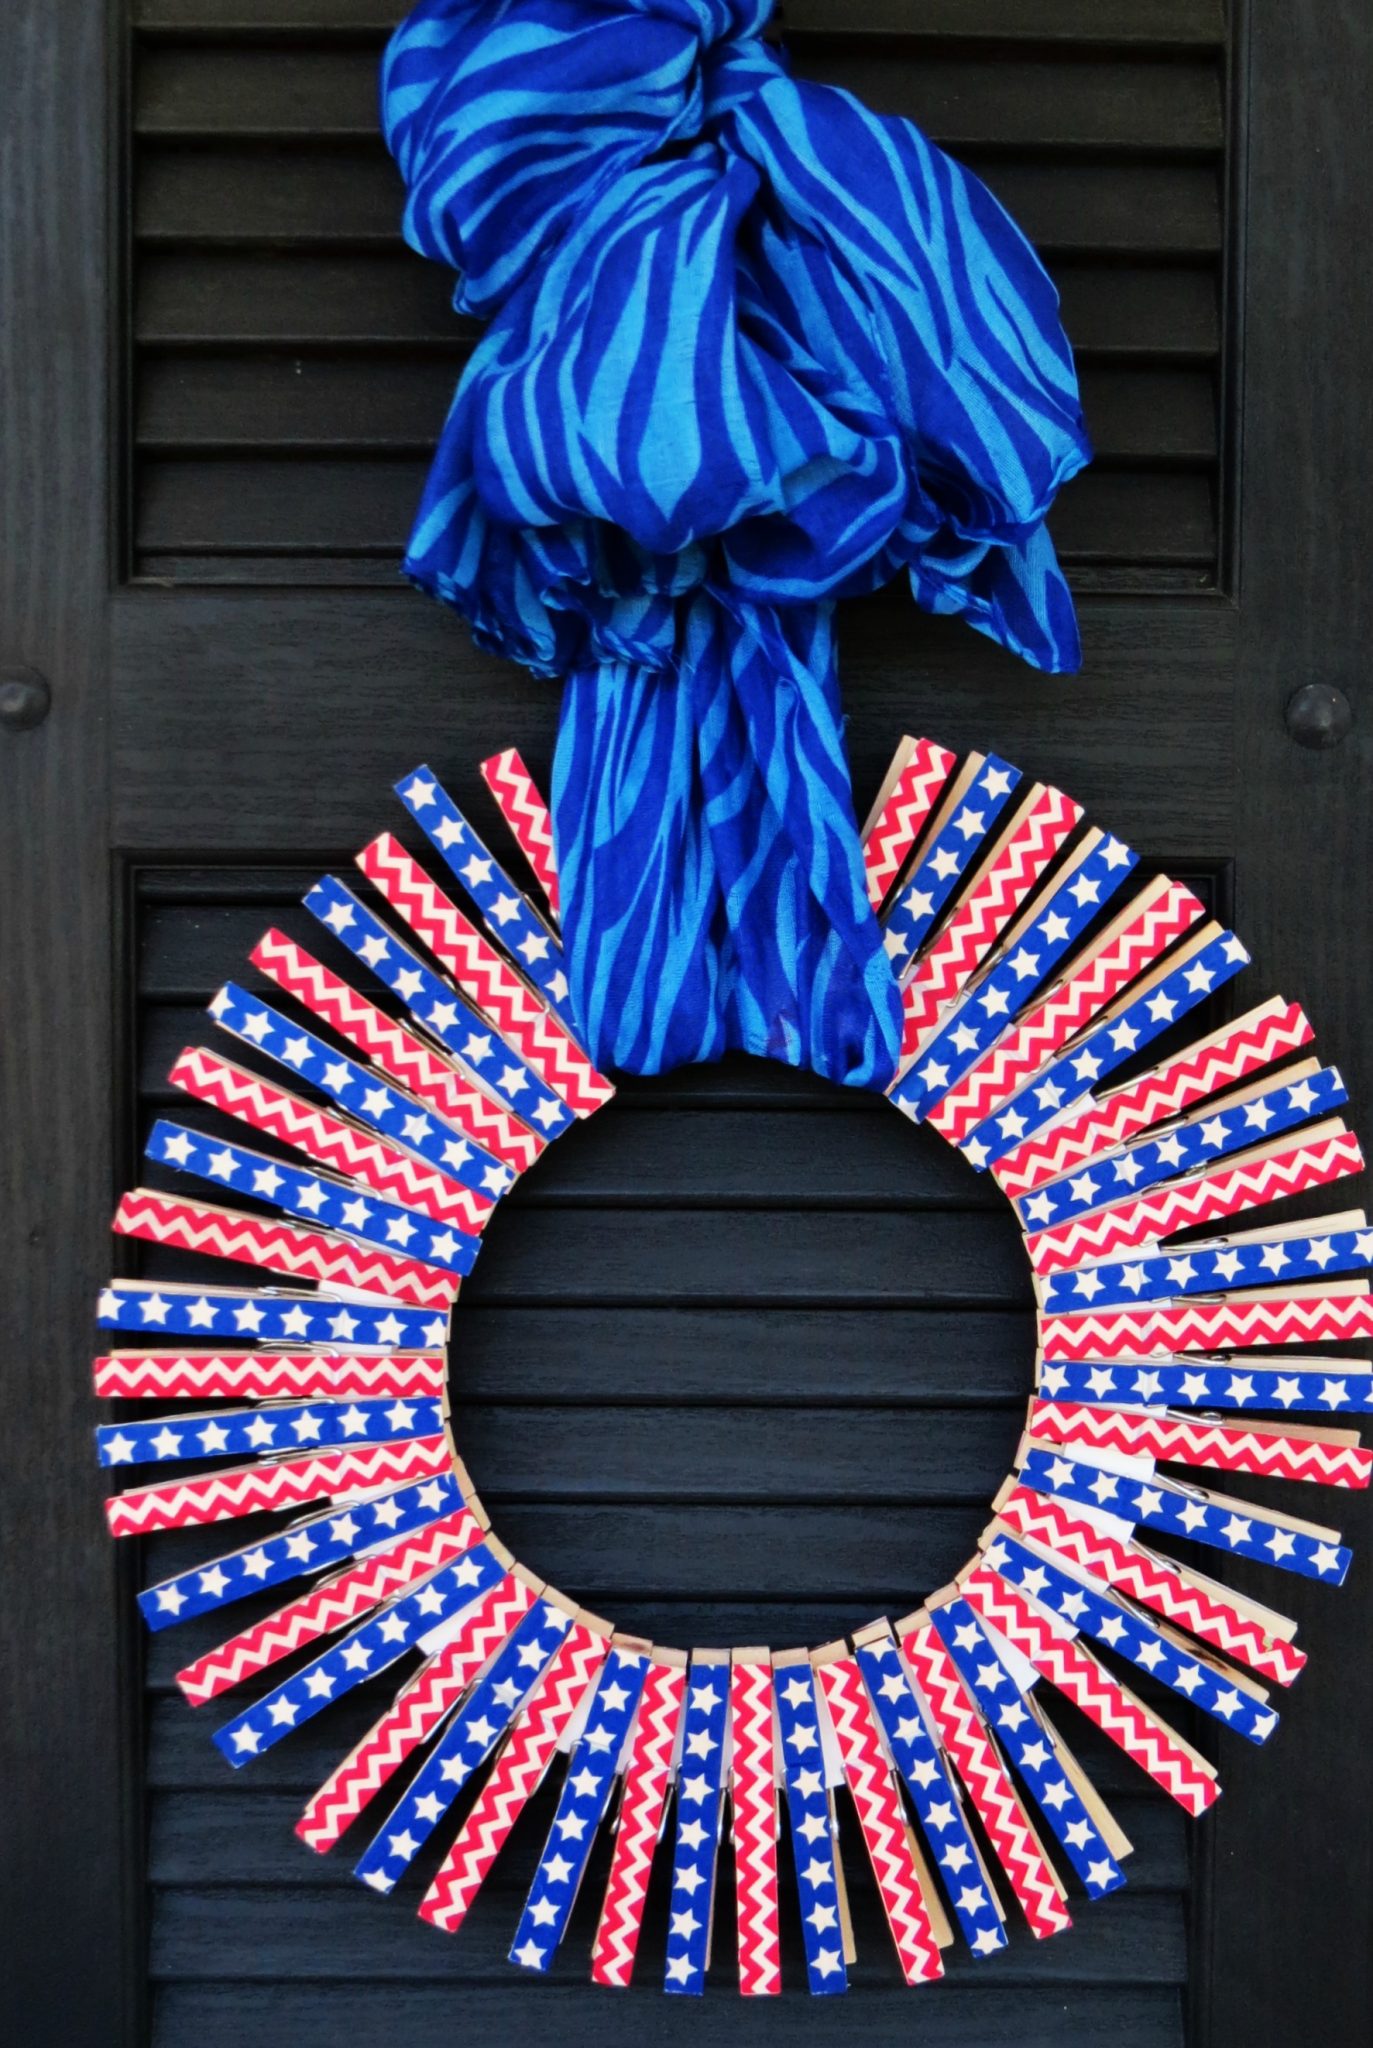
Add a Matching Ribbon or Scarf
Now that the wreath is ready, just tie a matching ribbon or scarf for hanging. I found both scarves for this project at the Dollar Tree, but I also have a few others I plan to use later when I create another version for Christmas and Fall.
This project is so versatile and easy. In June, I plan to replace a few of the clothespins on the Easter side with bolder, brighter colored patterns. With just a few pops of color and a new colorful scarf–or even a bright-colored scrap of terrycloth, I’ll have another great wreath that’s Beach Perfect, too!
What about you?
Any ideas for creating your own Reversible Wreath? Share with us!
In case you missed it–CLICK HERE FOR ALL THE STEPS TO THIS PROJECT
For more festive ideas, recipe tips, and family fun, follow me on Pinterest, too!
I’ve got so much washi tape and I’ve run out of ideas on how to use it. I love this idea and it’s reversible! Perfect! Thanks for sharing!
yay, Jeanie– now you can put some more of that tape to another idea!!
Love this idea of a reversible wreath using clothes pin and washi tape. Pinned it and will totally be crafting this project. It’s something I can do with my girls.