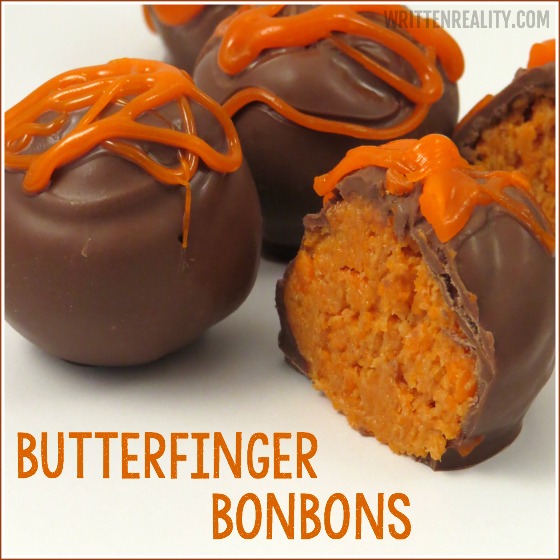
This homemade butterfinger bonbons recipe is a crowd pleasing favorite. With just three ingredients, you’ll be surprised just how easy they are to make.
I love to share baked goods and sweet homemade treats during the holidays. They make beautiful gifts and can be easily packaged and shared with plenty of family and friends throughout the season. So here at the Smith House, it’s all about Truffles and Bonbons!
Before making these recipes, I had never made any truffles or bonbons. I LOVE to eat them, and I certainly enjoy the ones I’ve purchased or received from others in years gone by. But for some reason, I was a little afraid of making my own.
For one, they’re both made with chocolate–which can be finicky and hard to deal with. And two, they look complicated. I mean, seriously, I’d consider some of the beautiful truffles and bonbons I’ve seen in magazines as artwork on a plate.
But I’m happy to say that I took the plunge and went for it. And with the help from my friendly neighbors at Chocoley, I was able to easily create some beautiful and delicious desserts.
Truffle and Bonbon Basics
Since I’d never made them, I was a little skeptical about my bonbon abilities. So I first decided to study Chocoley’s website a bit, to arm myself with a few of their truffle and bonbon basics, and figure out just what I’d need to create the type of treats I was aiming for.
The secret? It’s the chocolate. Bada Bing Bada Boom Dipping and Coating Formula requires no tempering. It’s super easy to melt and leaves the smooth finish I was trying to create.
Here’s the lowdown on the tools and other extras I used for my bonbons. Believe me. The tools are necessary and make the whole process way easier. So if you plan on making a variety of bonbons or truffles for the holidays, then I suggest you grab these tools to keep on hand.
3 Piece Dipping Tool Set I love these little gadgets. Not only do they keep you from making a big mess of melted chocolate everywhere, they also secure the bonbons so that dipping is easy and results in a smooth finish.
Quick-Read Thermometer Any time you work with making candy you need a good thermometer. I like this one.
Double Boiler Insert I love this insert because it fits perfectly over my pot to heat the chocolate.
Candy Parchment Paper You’ll need some sort of heavy duty parchment paper or liners when working with chocolate. This works well for the job.
If you’re hoping to make truffles or bonbons for Christmas gifts this year, I seriously recommend using this dipping chocolate. I used the assorted set (white, milk, and dark) because I’ll be creating several varieties. All three of these are perfect for melting and dipping, and hold a rich chocolatey flavor, too.
Homemade Butterfinger Bonbons Recipe
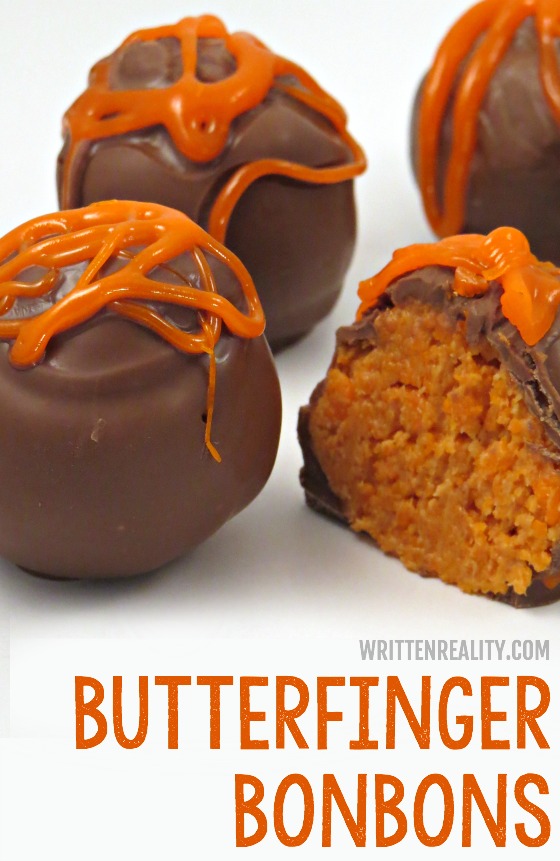
Now to the Butterfinger Bonbons recipe. I mean, who doesn’t love a Butterfinger? And with just peanut butter and candy corn, you can easily make your own.
The center of these bonbons taste exactly like a Butterfinger, but even better, they’re homemade and dipped in gourmet chocolate that’s perfect for serving at your next family gathering or packaged to give to your neighbor as a sweet surprise. Here’s I make mine.
Ingredients
1 lb. candy corn
16 oz. jar creamy peanut butter
dipping chocolate
Directions
- Melt candy corn in microwave for 1 minute, stirring every 15 seconds.
- Mix in the peanut butter.
- Chill for a couple of minutes in freezer.
- Form the peanut butter mixture into small balls, set on wax or dipping paper, and place in refrigerator while preparing chocolate.
- Melt dipping chocolate as directed on packaging.
- Use dipping fork/utensil to dip chilled butterfingers balls in chocolate.
- Set on dipping paper and return to refrigerator for just a couple of minutes until hardened.
- Promptly remove from refrigerator and enjoy!
This Homemade Butterfinger Bonbon recipe requires only 3 ingredients! Click To Tweet
Other Recipes You May Enjoy
Follow Written Reality’s board {Cooking} Foodie Fun on Pinterest.

- 1 lb. candy corn
- 16 oz. jar creamy peanut butter
- dipping chocolate
- Melt candy corn in microwave for 1 minute, stirring every 15 seconds.
- Mix in the peanut butter.
- Chill for a couple of minutes in freezer.
- Form the peanut butter mixture into small balls, set on wax or dipping paper, and place in refrigerator while preparing chocolate.
- Melt dipping chocolate as directed on packaging.
- Use dipping fork/utensil to dip chilled butterfingers balls in chocolate.
- Set on dipping paper and return to refrigerator for just a couple of minutes until hardened.
- Promptly remove from refrigerator and enjoy!



This looks really good. I’m sure Del would gobble these babies up if I made them. Thank you for this idea.
These look and sound so good! I make oreo ones every Christmas! They take a little bit of time, but they are easy!
So…I’ll take 20 of these! YUM!
Thanks for joining the Link Up this week!
Wow! That is super easy – just 3 ingredients! I think this may be what I make for the teachers at my children’s school this year for Christmas.
Yummy! Looks so delicious! By the way, I found your post via Titus 2 Tuesday today 🙂
Oh dang, you had me at butterfinger. Pinned!
Oh my goodness they look delicious! I have never tried to make candy before – maybe I need to start 🙂
I’m not sure if I’ve ever had a bon bon. Looks like a delicious candy.
I am craving butterfingers now after seeing these! I will have to try them. I have never heard of Bada Bing bada Boom chocolate but I’ll have to check them out now. Thank you so much for joining us at Creative K Kids Tasty Tuesdays Link Party! I will be pinning this to the Tasty Tuesdays Board. Hope you can join us again next week!
These look amazing. They are so pretty, plus I am sure they are delicious
These look so quick and easy and perfect for fall.
These look so yummy and they are a great way to use up extra candy corn after halloween!
These look so good. What a creative way to use up leftover candy. thanks so much for sharing!
Hello sweet lady! This looks incredible. Pinned. We appreciate you taking the time to party with us. We hope to see you on Monday at 7 pm. We love partying with you!http://loulougirls.blogspot.com/
Happy Monday! Lou Lou Girls
This recipe was wonderful! They were so easy to make, and they tasted great. However, I had a bit of a hard time melting the candy corn and mixing it with the peanut butter. Any hints? Other than that, these were awesome to make and eat!
I know! Melting that candy corn was an experiment at first. But then I decided to add the peanut butter to the mix and it was so much easier. So next time, melt the candy corn in the peanut butter and it will be creamier and easier to manage– hope this helps!
Butterfingers are my favorite candy will have to try these!!
I USUALLY DON’T CLICK ON SWEETS, BUT THESE ARE SO INTRIGUING! COME TO THINK OF IT, I’VE NEVER REALLY LIKED BUTTERFINGERS, BUT I STILL WANT TO MAKE THESE!!!
that is so funny! Guess you could make them to share with your Butterfinger loving friend, then 🙂
Wowwww
These look wonderful !!
Definitely my kind of sweet treat 🙂
Am curious what did you drizzle on top of them?
melted candy corn 🙂
The look amazing!!! Do you deliver 🙂
funny! though I am getting a few requests from friends this Christmas LOL 🙂