I’m super happy today to share a guest post from Barb @ A Life in Balance.
Many of you may already know Barb as a fellow hostess of Motivation Monday and her practical advice for moms about everything from organization to saving money.
This week, it’s all about Valentine’s Day!
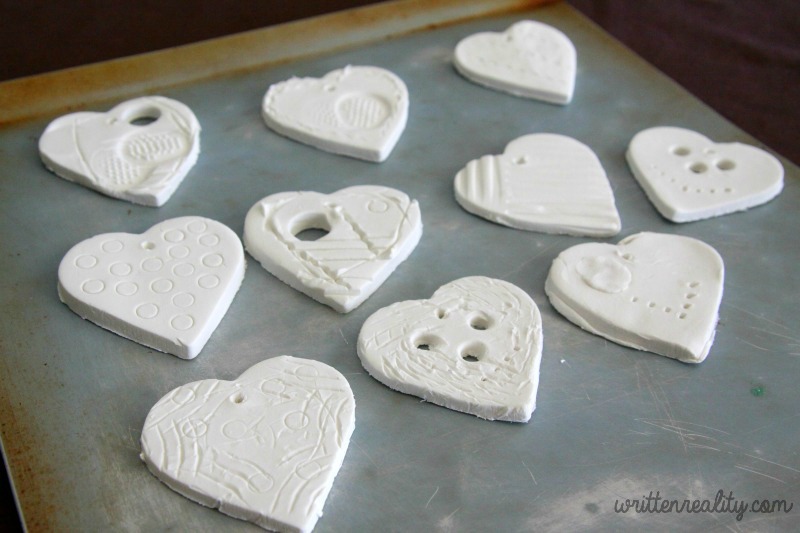
Barb was kind enough to share with us how she made these beautiful Valentine clay ornaments. Here, she shares her step-by-step guide, so that we can try our hand at making them, too.
So welcome, Barb! We’re happy you’ve joined us this week.
This post may contain affiliate links.
I am so excited to be sharing this fun air dry clay craft for Valentine’s Day with Mitzi’s readers. Air dry clay is such a fun medium to work with. No baking or firing needed. All you need is air to dry the clay piece. Once the clay has dried, it can be painted or written on with markers.
Find more easy crafts for kids over at my site, A Life in Balance.
How to Make an Air-Dry Clay Heart
A few tips before starting:
- Water can be added to soften the clay or join pieces together. If too much water is added, allow the extra water to dry before molding the pieces to prevent cracking.
- Don’t make the hearts too thin. Roll out the clay to a minimum of 1/4″ thickness.
- You can use traditional clay molding techniques with air dry clay.
- Completely dry pieces can be painted with tempera, acrylic or watercolor. We used Sharpie oil-based markers with no issues.
- Store unused clay in an air-tight container.
Supplies Needed
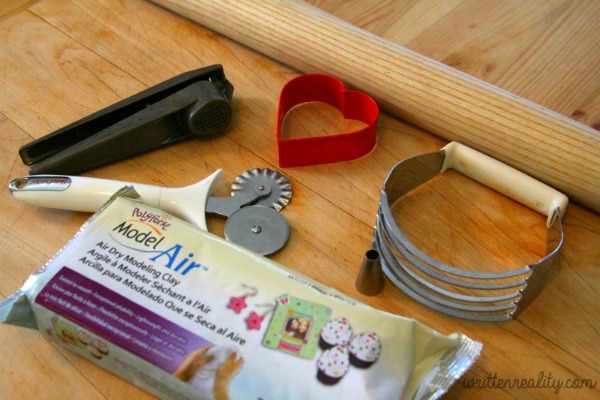
- Air Dry Modeling Clay
- Oil-based Sharpie pen
- Heart-shaped cookie cutter
- Optional: Pastry crust cutter, garlic press, icing tip, or anything metal to make an imprint in the clay
I found the air dry modeling clay at my local craft store, Michael’s Arts and Crafts. It was about $10 for a package of modeling clay. Many craft stores offer coupons for 40 to 50% off one item in your purchase.
Craft stores will also carry the Sharpie pens. The oil-based ones are perfect for this craft. Just remember to put the top back on the marker all the way to prevent it from drying out. Since the markers are oil-based and permanent, they will not come out of clothes.
After using tools from the kitchen, I thoroughly washed them in hot water and Dawn dish detergent before using them for food preparation.
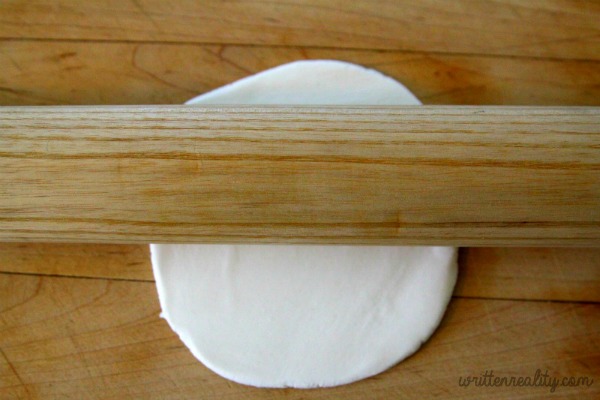
Roll out the air dry clay to the desired thickness with a minimum of 1/4″ thickness.
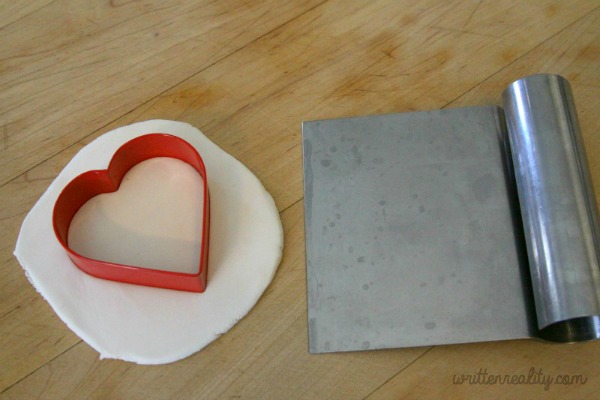
Cut out the heart shapes with a cookie cutter. I used a pastry cutter to help me lift the heart off the wooden cutting board.
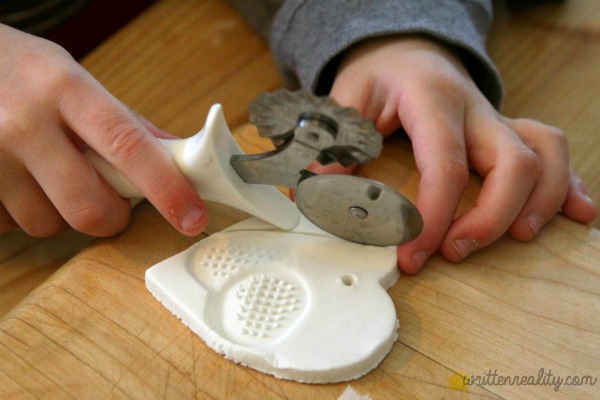
Poke a hole in the top of the heart for hanging the heart. Then, get to work decorating your hearts. A Pastry crust cutter, garlic press, icing tip – anything that will make an imprint in the clay. You can press firmly but gently to make the impression.
Lay out the hearts on a cookie sheet to dry thoroughly. Allow at least 2 days to dry. Paint your hearts with tempera, acrylic, watercolor, or oil-based Sharpie markers and let them dry before hanging.
What about you?
Do you have a creative kid idea? Share them with us!
About Barb
Barb is a mom of 4 boys and 1 princess who spends her day keeping track of Nerf guns, stuffed animals, and library books when she isn’t writing about all the organizing, cooking, and reading she manages to fit in between the crazy, loud moments Her idea of quiet time is a trail run in the woods. Barb can be found at A Life in Balance.
Follow Written Reality’s board {Kids} Learning Fun on Pinterest.
Other Topics You May Enjoy
15 Ways to Spark a Kid’s Creativity



These look like so much fun! Love them!
Thanks for joining the Link Up this week!
Thank you for contributing to Motivation Monday!
Love these. What a great idea for Valentine’s Day. Thank you for sharing with us at Merry Monday! Pinned!