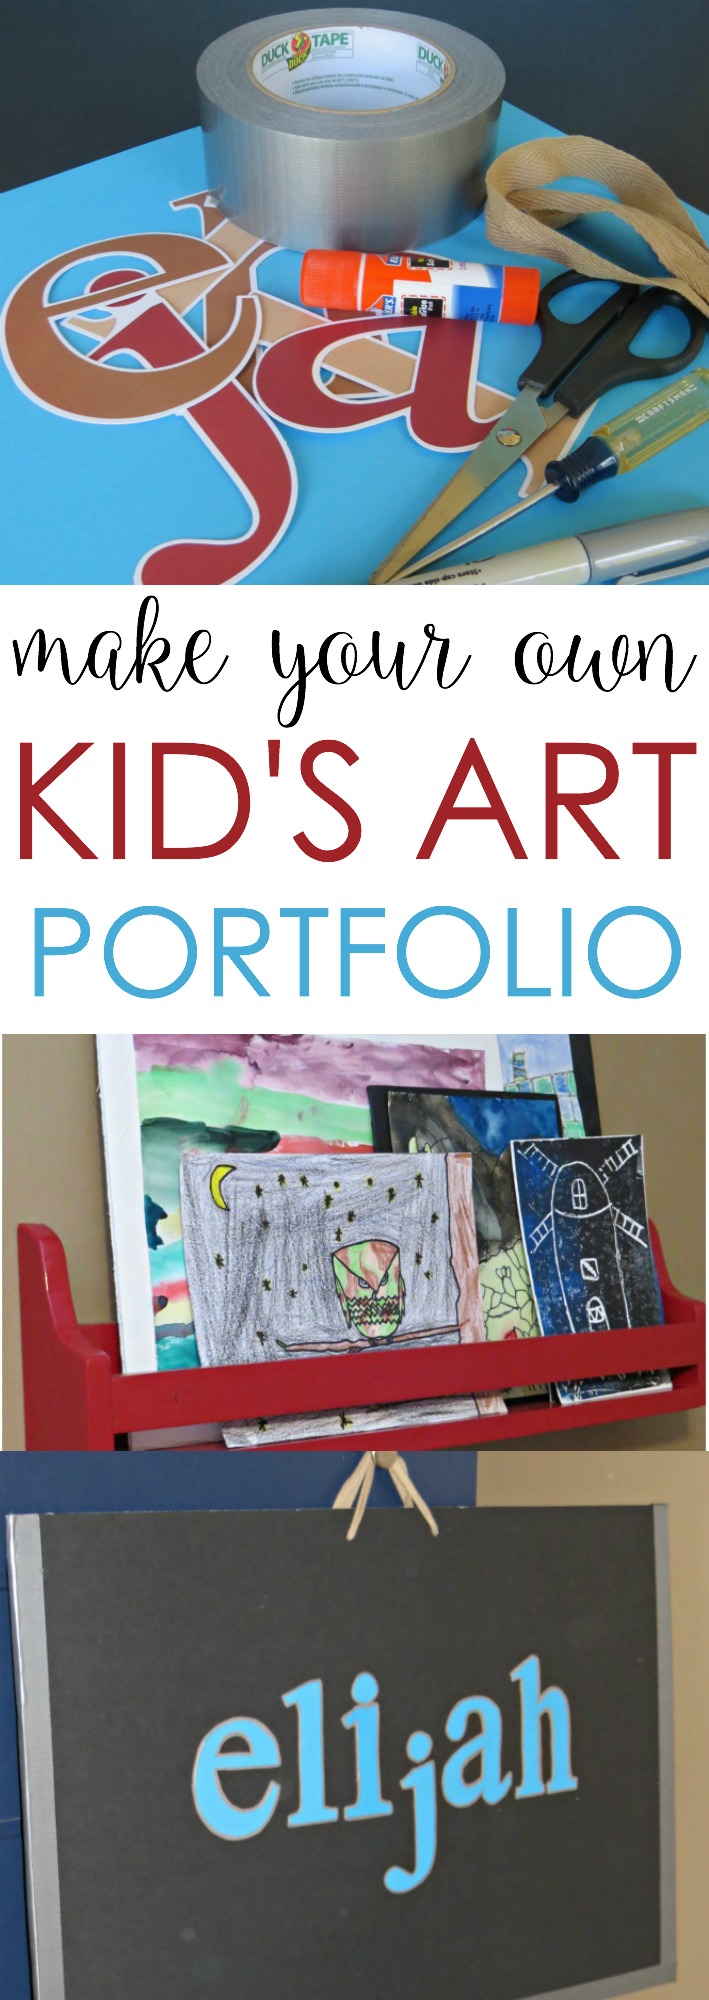
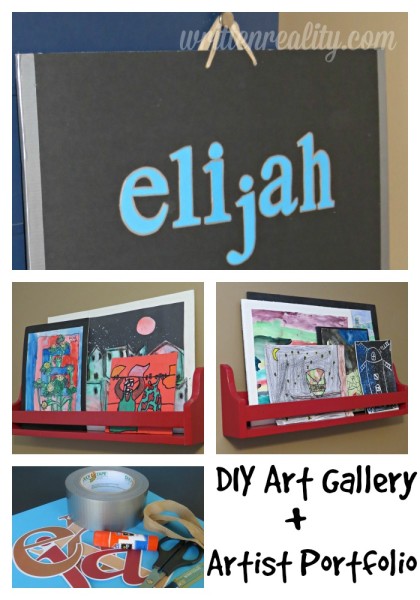
Kids Art Portfolio Case : Need a way to store all your kid’s artwork? Make a kid art portfolio using materials you probably already have in your junk drawer at home. Here’s how.
updated post:
When we transformed my son’s bedroom to celebrate his love for ART (check out that post HERE), I decided to also create an artist portfolio for extra storage.
I wanted to encourage my son’s creativity and celebrate his talent, but without it taking over the entire house. Artwork can get messy and out-of-control.
In college, when I took an art class geared for elementary school teachers–YES! I’m still putting that teacher’s degree to good use–we were asked to make our own portfolio. Even then, the portfolio made me feel more creative somehow.
I never considered myself as the artistic type, but when I began to experiment and ‘play’ with art during this semester, I felt more confident in what I could create.
I wanted the same for my son. So one afternoon I sat down with him and we created our own DIY kids art portfolio case to help wrangle in some of that artwork he’s been creating. Check out the basic instructions on just how easy it is to make your own below.
DIY Kids Art Portfolio Case
Here’s what I used:
- 2 pieces of black foam board
- duct tape
- scissors
- ribbon
- screwdriver
- marker
- stencil letters
- glue stick
Instructions:
This is DIY kids art portfolio case idea is actually one of the easiest projects I’ve ever done. It turned out fabulous and my son just loves it, too.
For the handles–
The length of the ribbon and how far apart you set the holes will determine how large the handles, so keep that in mind as you work through this step. I played around with it until I had the size I wanted.
Punch 2 holes in each of the sheets of foam board (about an inch down and centered). Push through your ribbon from the outside in and tie a knot on each end to secure.
Securing the sides–
Just line up the 2 sheets of foam board and attach with duct tape on the remaining 3 sides so that the handles are now at the top opening.
I used just regular silver duct tape, but have you seen how some go crazy with duct tape? Seriously, you can find duct tape in all sorts of patterns and colors these days.
Decorate–
As with all of my do-it-yourself projects, I used what I had on hand. And that was, silver duct tape, a silver Sharpie pen, and these leftover big letters from my days scrapbooking.
Be creative: choose an inspirational quote, add your child’s handprints, or use stencil letters like me.
I traced out the letters in a color I thought would pop from the black background, cut them out, and glued them to the side I determined as the front of the portfolio.
I then outlined each letter with silver to, once again, make them pop, but also to hide any cutting or tracing mistakes. –’cause that’s just me 🙂
The art portfolio creates a perfect storage solution for kids who love to create. It’s a great way to encourage your child to get creative and celebrate the wonderful talents God has given each of us.
Make Your Own Kid Art Portfolio Click To Tweet
Other Topics You May Enjoy


You must have read my mind. I have a big box in my office filled with arts and crafts the kids have made, and I was just literally wondering what I was going to do with all of them now that we don’t have our huge dry erase board on our wall anymore (we have it for sale.) I love this idea. Thank you for putting your teacher degree to work and teaching us how to do this.
Love this! We just have a clear drawer for my kids to put their artwork in after it cycles through a display on the fridge for a few days, but this is a GREAT idea and would make each one feel like they have their own special place. 🙂 Thanks for the inspiration!