Remember my previous post: Do Your Flowerpots Need a Do Over?
Well, it’s not just my flowerpots in need of a little attention. As a homeowner, there are always rooms and furniture pieces who need a little sprucing up or a new coat of paint.
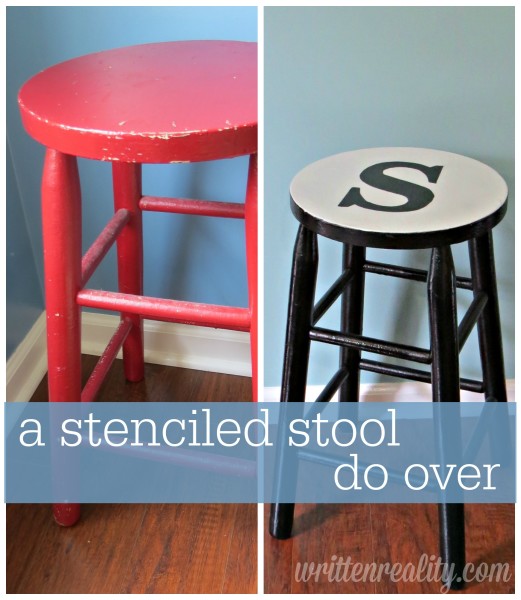
This time I noticed an old wooden stool I’d had for ages. It’s red coat was chipped from wear and though useful and a practical piece, the poor stool needed something to spark a little attention its way.
A Stenciled Stool Do Over
This do over was an easy one. And even better, I already had what I needed–a couple of cans of paint. That way, I could keep it low-budget. Also, with the colors I’d chosen it would be versatile because now the stool could pretty much blend with everything in the house.
The cost of this project?
a can of spray paint. –And that’s because I chose to add just one more coat.
So here’s how I took this poor forgotten stool from drab to FAB:
1. Rummaged through Hubby’s workshop. You never know what treasures you’ll find!
2. Spray painted the legs and underside black. Since the stool was red, this coverage was pretty easy.
3. Waited around for the paint to dry completely.
This is where the extra can of spray paint comes in. I didn’t wait long enough.
I tried covering the legs too soon and the paper stuck. So that doubled the time for another coat of paint plus tacked on the time I should have used in the first place to dry.
Allow the paint to dry completely. Practice patience. Lesson learned.
4. I covered the legs well, so I could get a good covering on top. That’s the side everyone would notice. So I wanted the white really bright.
5. For the typesetter look, I actually had a wooden “S” I’d saved for another project. It was too big, so I traced it, reduced it on my printer, then printed out the perfect size.
But just find the font/letter in the size you want online and print it. Or, find a fun stencil of something else you could easily trace. After all, it’s just paint. If it doesn’t look the way you’d hoped, then paint over it and try again.
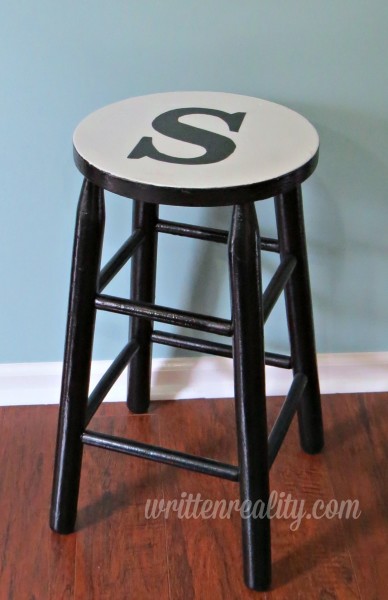
6. Being careful to keep my cutting close and even, I cut the S out of the middle of the paper to create a nice stencil, then set it on the top and painted over it with basic black paint and a sponge.
7. Finally, my husband suggested an extra shine, so I sprayed a little Mod Podge Sealer–but use what you have. It just happened to be what I had on hand from a previous project and since it was High Gloss, I knew it would give my new stenciled stool a great shine.
DIY Tip:
I always keep a bag of Foam Brushes,a few cans of All Purpose Spray Paint
in basic colors that go with everything, and Painter’s Tape
handy.
It’s just too easy to spruce up old pieces with a little paint.
[Tweet “Check out this Stenciled Stool Do Over- DIY that’s simple and fun!”]
Check out these DIY projects, too!
Flowerpots Do Over with an Old Shirt
Perfect Lettering and a Little Chalkboard Paint
What about you?
Do you have a room or piece of furniture that could use a do over? Share your ideas with us!


Thanks you so much for stopping by Creative Spark Link Party last week! We hope you link up again this Wednesday.